
The main quest for Nioh 3: The Battle of Saigagake is a clear point where the game changes, both in how it plays and in the story. It builds directly on the events of Mikatagahara and expects you to be comfortable navigating broken terrain, managing stamina under pressure, and adapting to aggressive boss behavior.
That said, here is how you can complete The Battle of Saigagake main quest in Nioh 3.
The Battle of Saigagake in Nioh 3 walkthrough
The Battle of Saigagake becomes available on its own after you finish the main mission called The Battle of Mikatagahara. The recommended level should be 50 before you begin, as the regular enemies and the boss battle wait at the end.
Once it is unlocked, use fast travel to go to the Saigagake Junction Shrine in Nioh 3. You will find this shrine just to the north of Hamamatsu Castle.
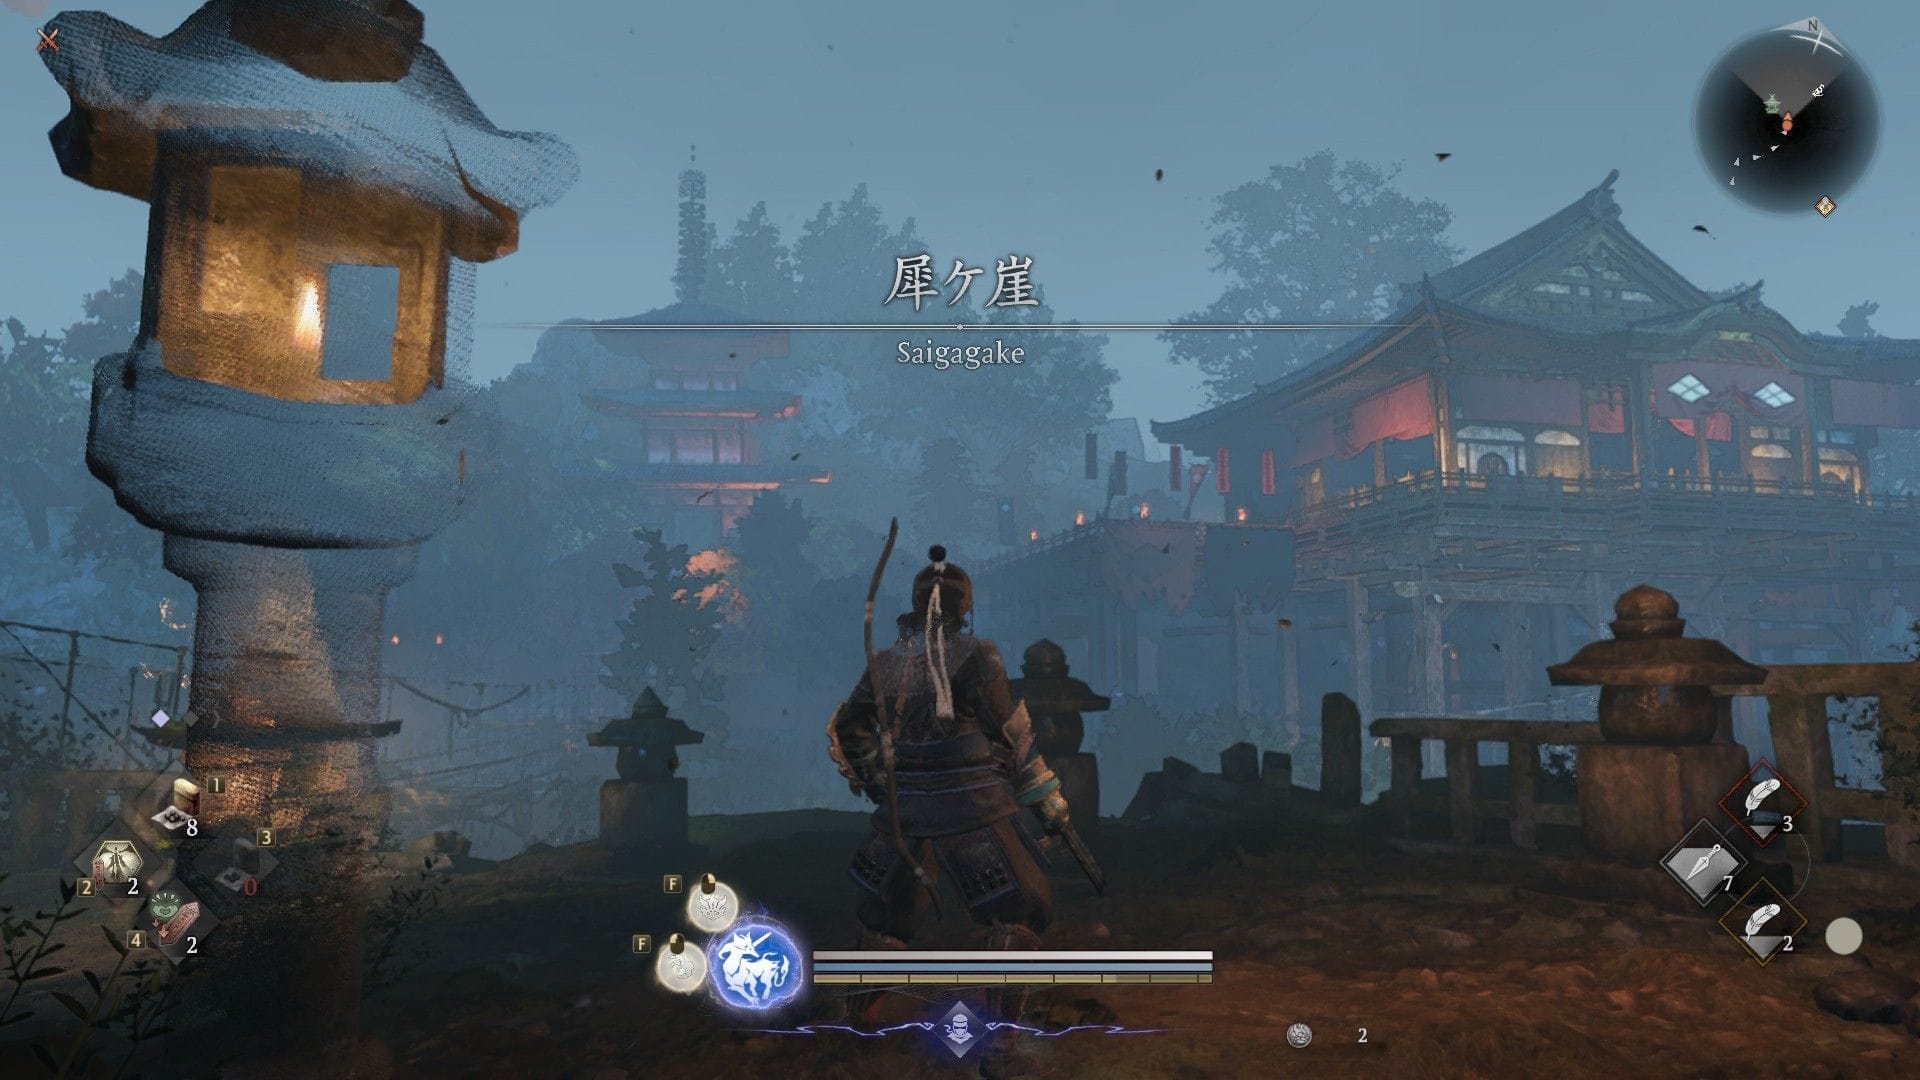
Entering Saigagake
Starting from the shrine, talk to Ii Naotora, who is waiting next to a gate. When the conversation ends, open that gate and go straight ahead. Keep following the path with fences until you come to a big broken wooden bridge. There is a shrine close to it. Do not try to cross the bridge here. Instead, turn to your left and find the stone steps that go down.
These steps will lead you to a smaller broken bridge that you can jump over. Once you are on the other side, keep going north through the woods until you get to a bridge that is not broken. You can walk across this bridge normally.
Right after this bridge, you will see a ladder. Climb this ladder to go up into the wooden base of the castle.
Heading to castle foundations

Climb the ladder and walk to the edge of the stone platform you are on. Then, drop down into the big open area below. A Magatsu Warrior enemy walks around here. Defeat all enemies in this area with caution.
On the side of this area farthest from you, look for a slanted wooden beam and climb up it. From the top of that beam, turn left to face the wall and go up some wooden stairs to reach a higher level made of beams.
You need to take your time in this part. The beams are skinny, have breaks in them, and have enemy ninjas guarding them. Jump over the gaps carefully and do not move too fast, because if you fall you will usually have to fight all the enemies again.
When you get to the end of this series of beams, you will be at the top of a wooden watchtower that has a shrine. This shrine is a very important checkpoint.
Tunnel paths and other ways to go
From the shrine, take the path on the left to get back onto normal ground for a short while. Directly to your right, you will see a passage that looks like a cave, marked by some torches.
Go inside and walk on a wooden beam. Then, turn left into another tunnel-like hallway. Be ready for a fight, because an enemy is on guard in this part. After you leave the cave, look to your left for some stone ledges and a ladder. Climb up these to reach a higher road that continues forward.
The courtyard and the hot spring
This road takes you further ahead. To the left of this shrine, a stone path goes into a courtyard. Two enemy soldiers are here, and one of them is on a horse.
Clear all enemies from this courtyard. Then, go to the far right side of the courtyard where you will see a door marked with yokai symbols. Whistle here to open a hot spring, which gives you a very useful chance to heal before the boss fight.
After that, go past the wooden fences and several blue helper graves. Then, walk up to the gates ahead to start the next story part in Battle of Saigagake.
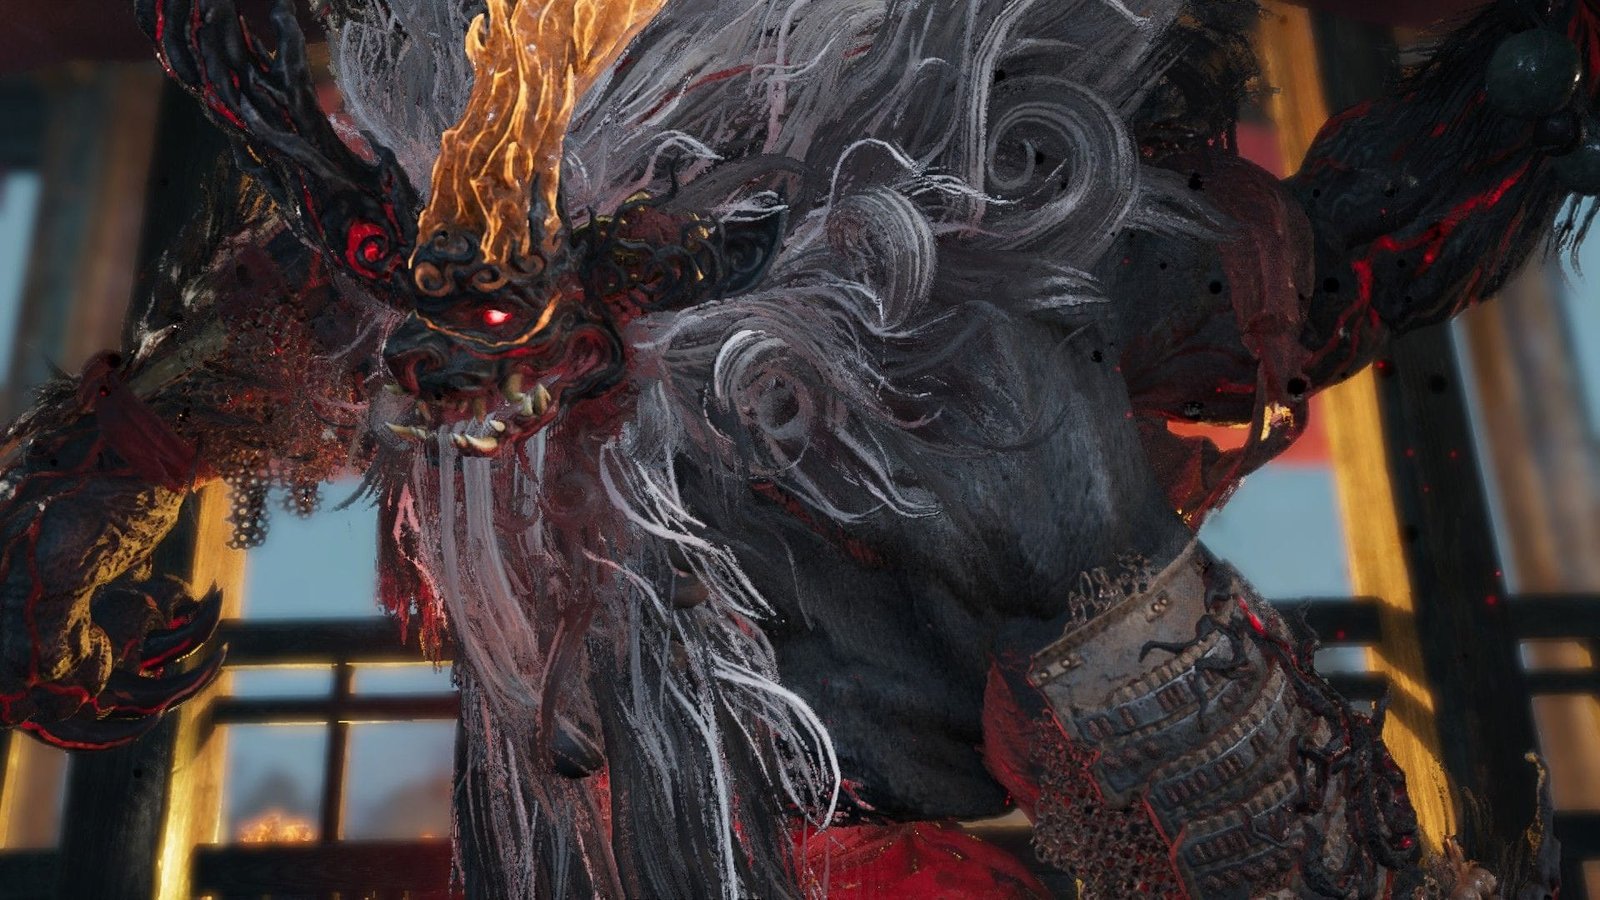
The boss fight – Takeda Shingen in Nioh 3

You now have to fight Takeda Shingen during the final part of the Battle of Saigagake, who is large, fast, and his unpredictable movements can make this battle seem too much to handle at first. Even though he is big, Shingen moves very quickly. He jumps all over the fighting area and attacks from strange directions.
For this reason, the Ninja fighting style using Dual Ninja Swords works very well against him. His attacks are too powerful and too quick for you to depend on blocking or parrying them regularly.
The method that is least dangerous is to dodge forward and to the left, moving around behind him whenever he starts one of his big attacks. His large body makes it simple to hit him from the back once you understand how to get into the right position.
In the first part of the fight, concentrate on getting in fast close-range hits from behind to build up your Ninjutsu meter. This pattern of attacking and then backing off keeps you safe while you slowly take away his health.
A few of the boss with four arms moves are slow, do not reach very far, and if he misses, he lets you hit him for free. Do not stand right in front of him for too long. When he swings with his multiple arms, the attacks can happen in ways that are hard to understand if you are facing him directly.
After you beat Takeda Shingen in the Battle of Saigagake quest, a story video will play. Talk to Ii Naotora to move the story forward.
Rewards for Battle of Saigagake in Nioh 3
- Samurai’s Locks
- Osafune Kanemitsu
- Fuma Ninja Plated Headband
- Samurai’s Text x2
Finishing Battle of Saigagake takes you directly into the next mission, called The Age of Clans Begins, which moves the story forward into the Heian period.
Check out more articles on Nioh 3 below:
Are you stuck on today’s Wordle? Our Wordle Solver will help you find the answer.
Edited by Rishi Pallav